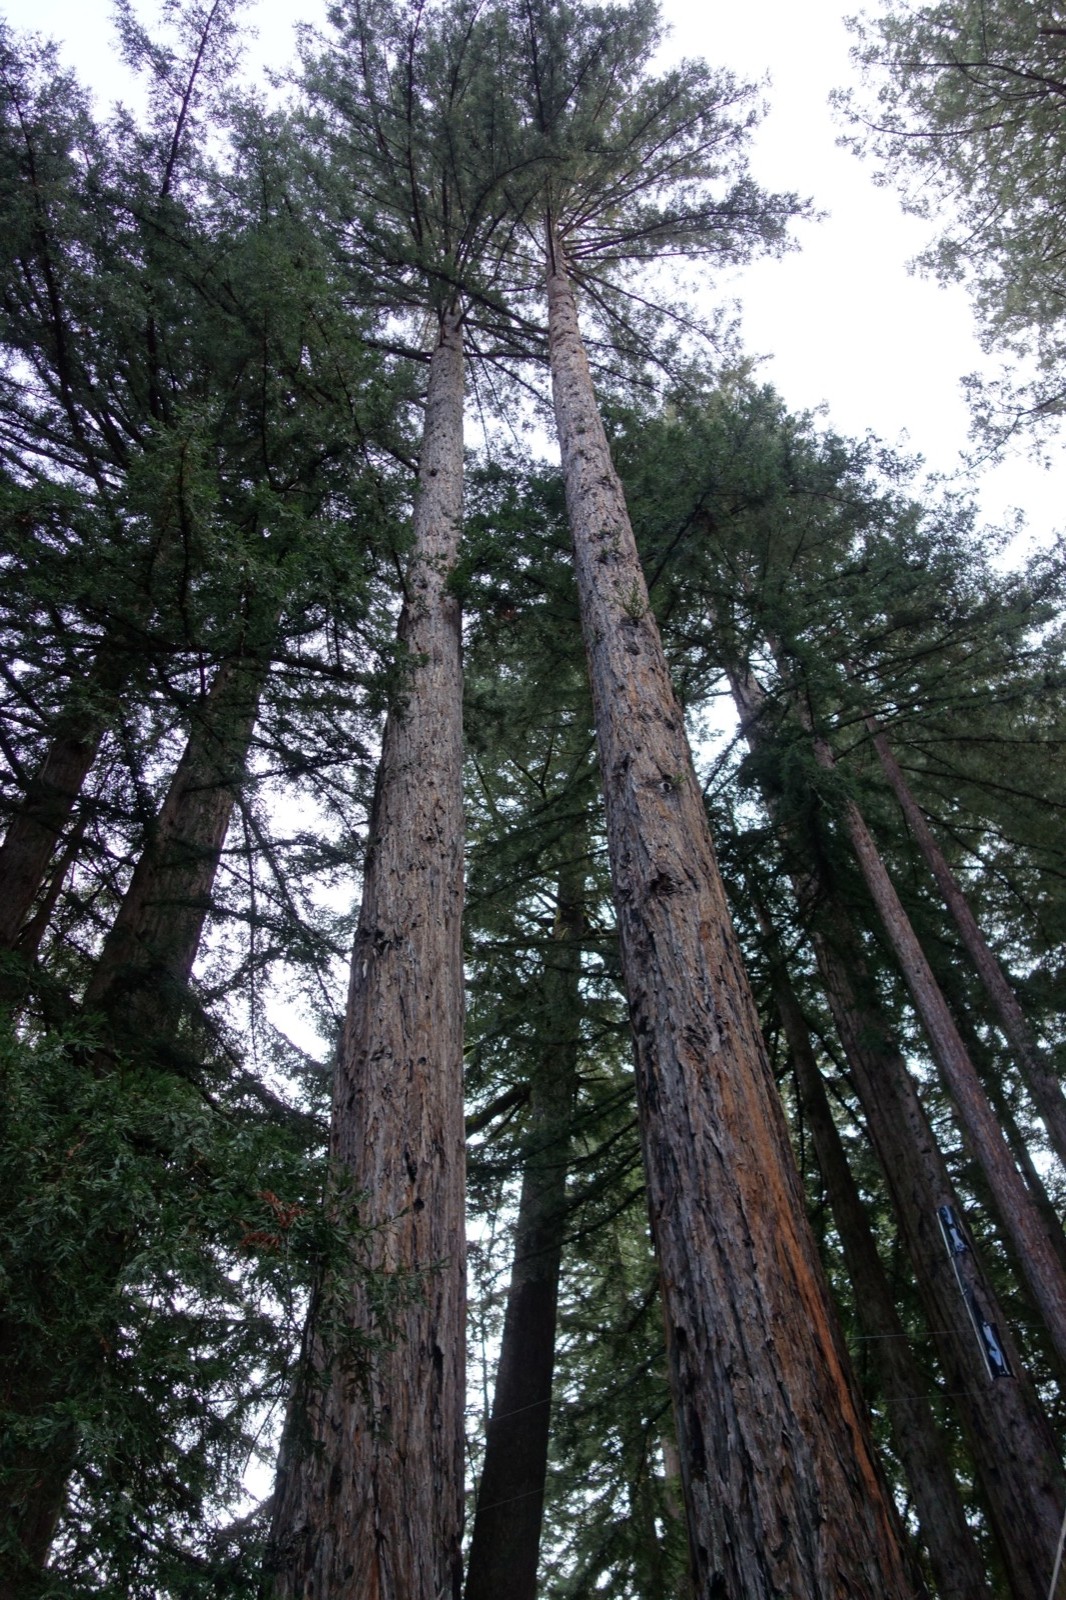
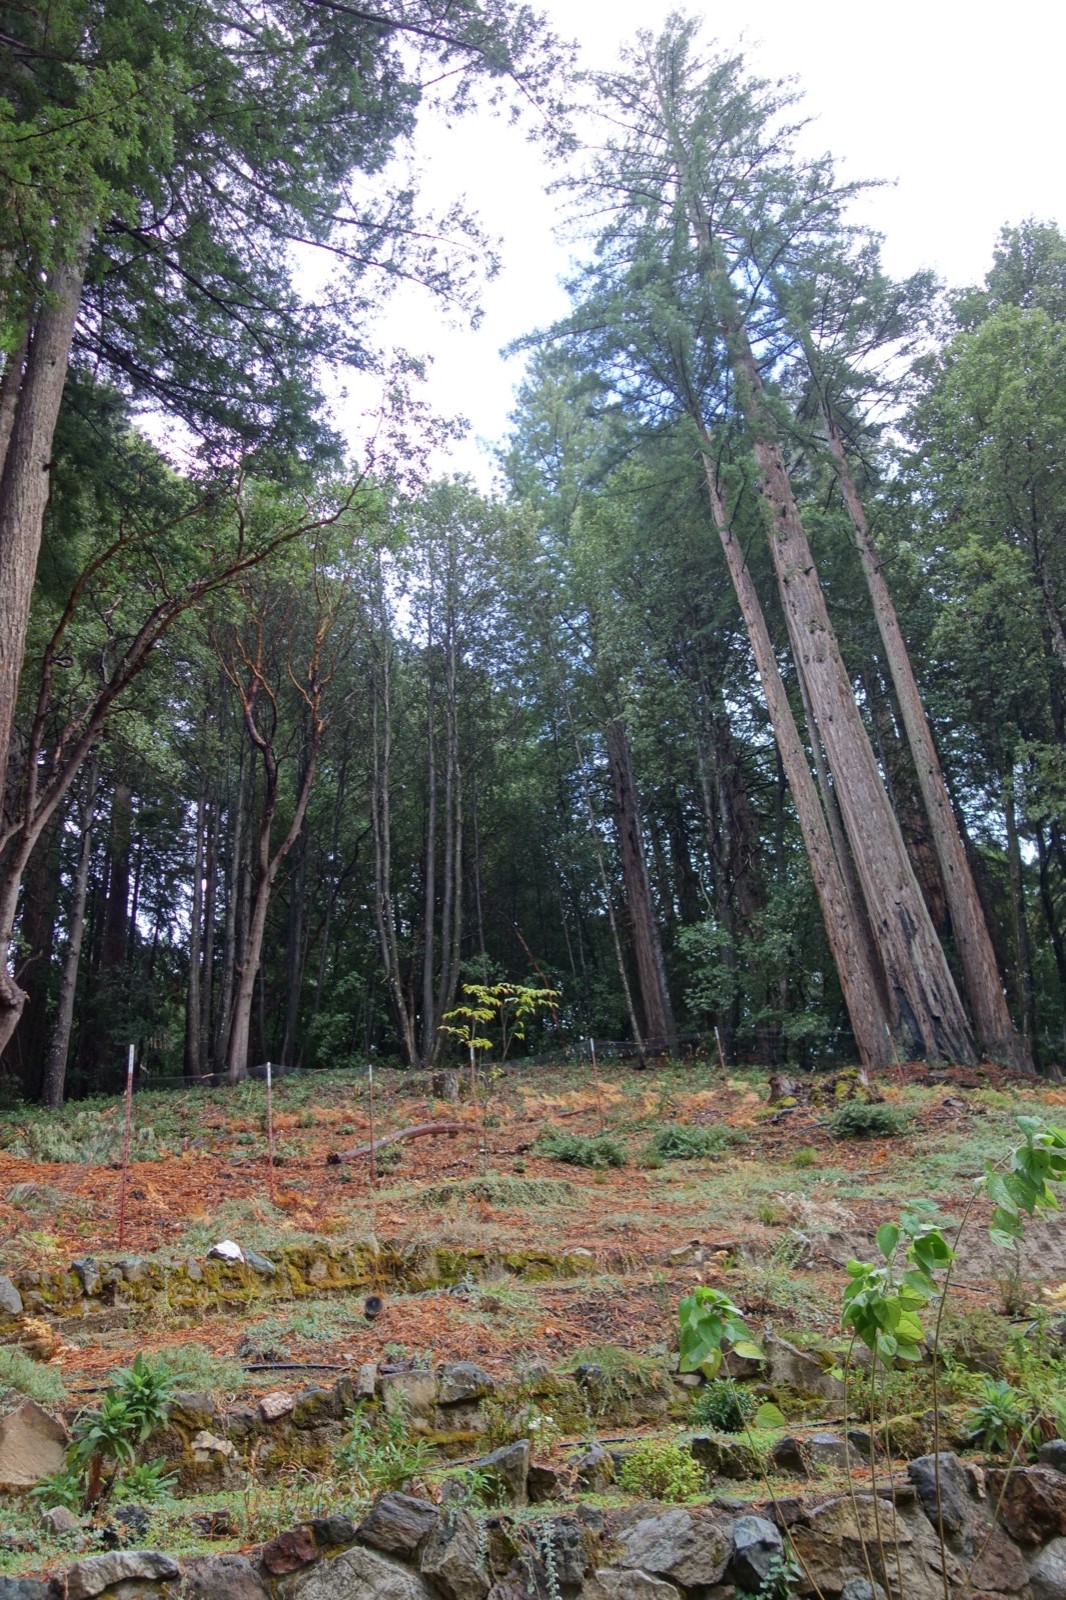
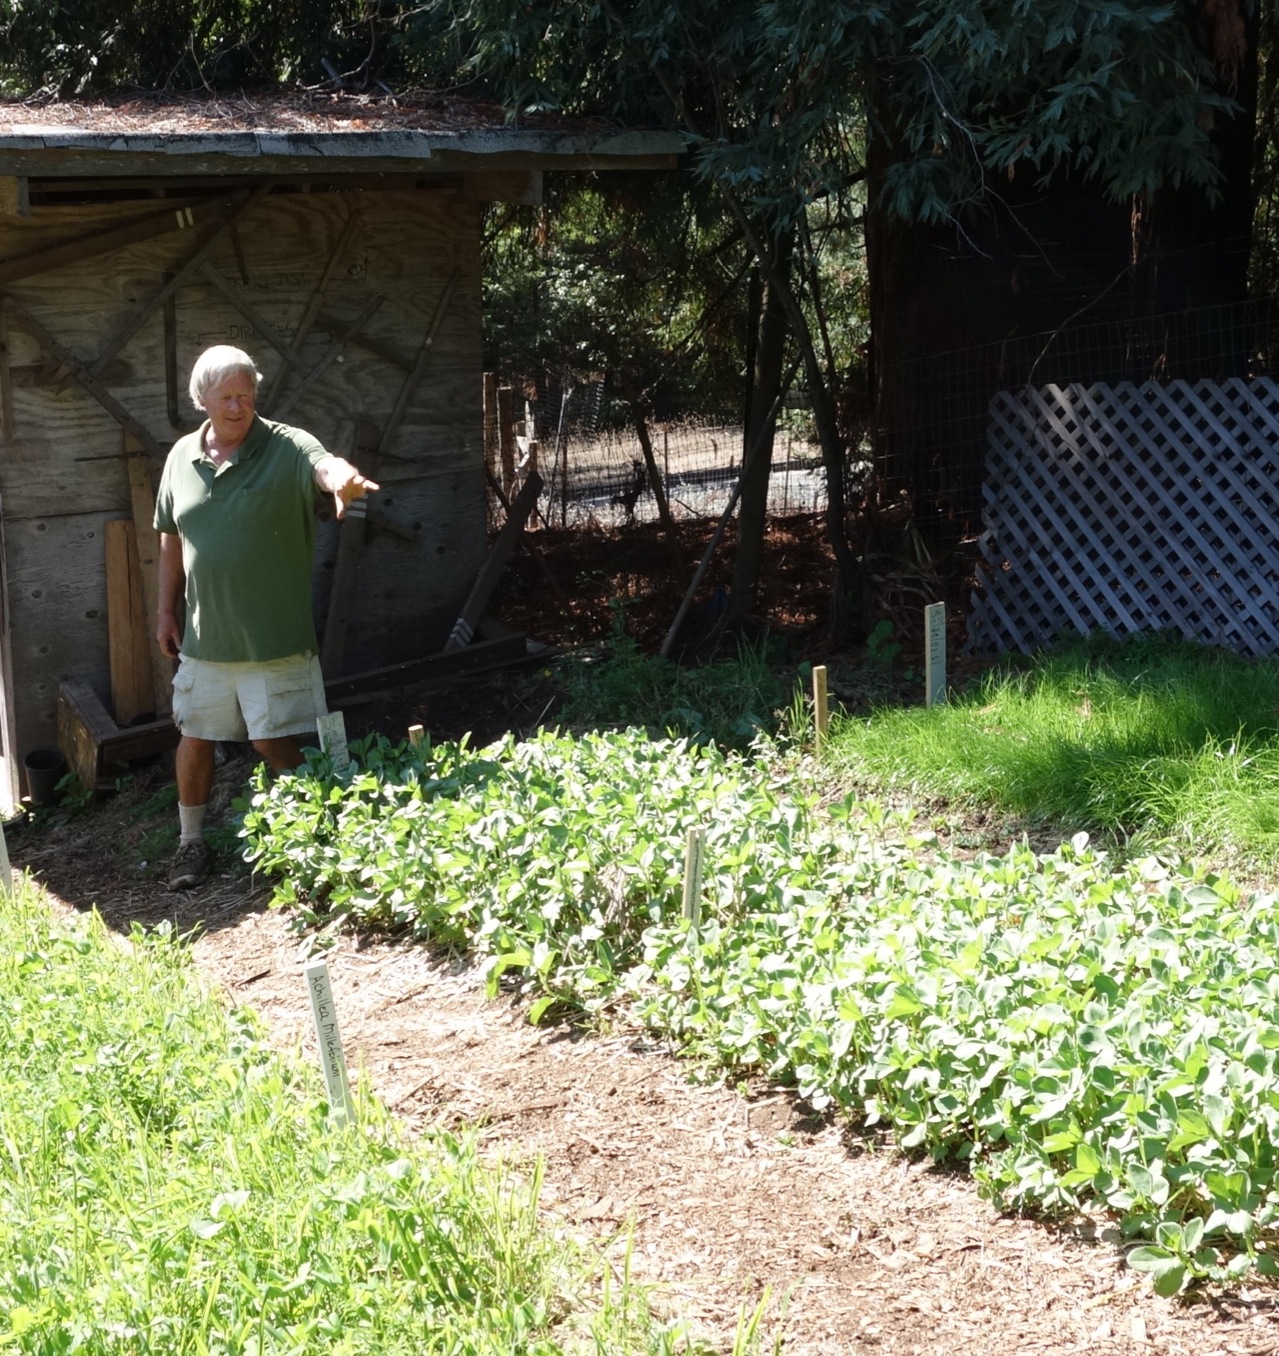
 I designed other parts of this garden but this area was all hers. She’d been interested in cactus and succulents for a long time before deciding to combine her passion for these plants and her love of gardening to a problem spot in the garden. The results are jaw-dropping impressive and I was honored to visit this garden and get a private tour. My friends live on the river in Ben Lomond and working as a team have created a living wall on a slope that runs the length of their driveway rising steeply up to a road on the upper side.
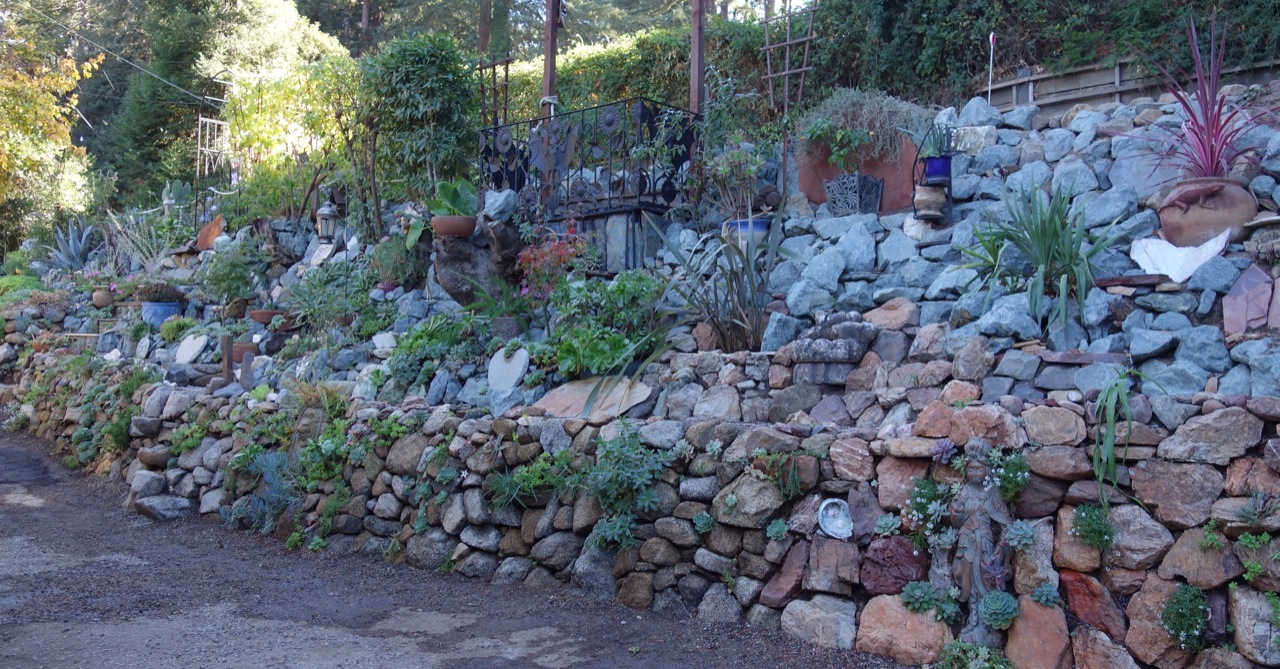
Most people would have built a block retaining wall and added a few low water use plants for erosion control and called it a day. But not this couple. He’s a rock hound and has collected specimens on every vacation and job site for a very long time. “His rock collection became so large we needed to bring them out in the open and put them in a place where he could see them daily”, she says. My eyes were riveted on a mosaic of colors as the various stones of jasper, jade, granite, 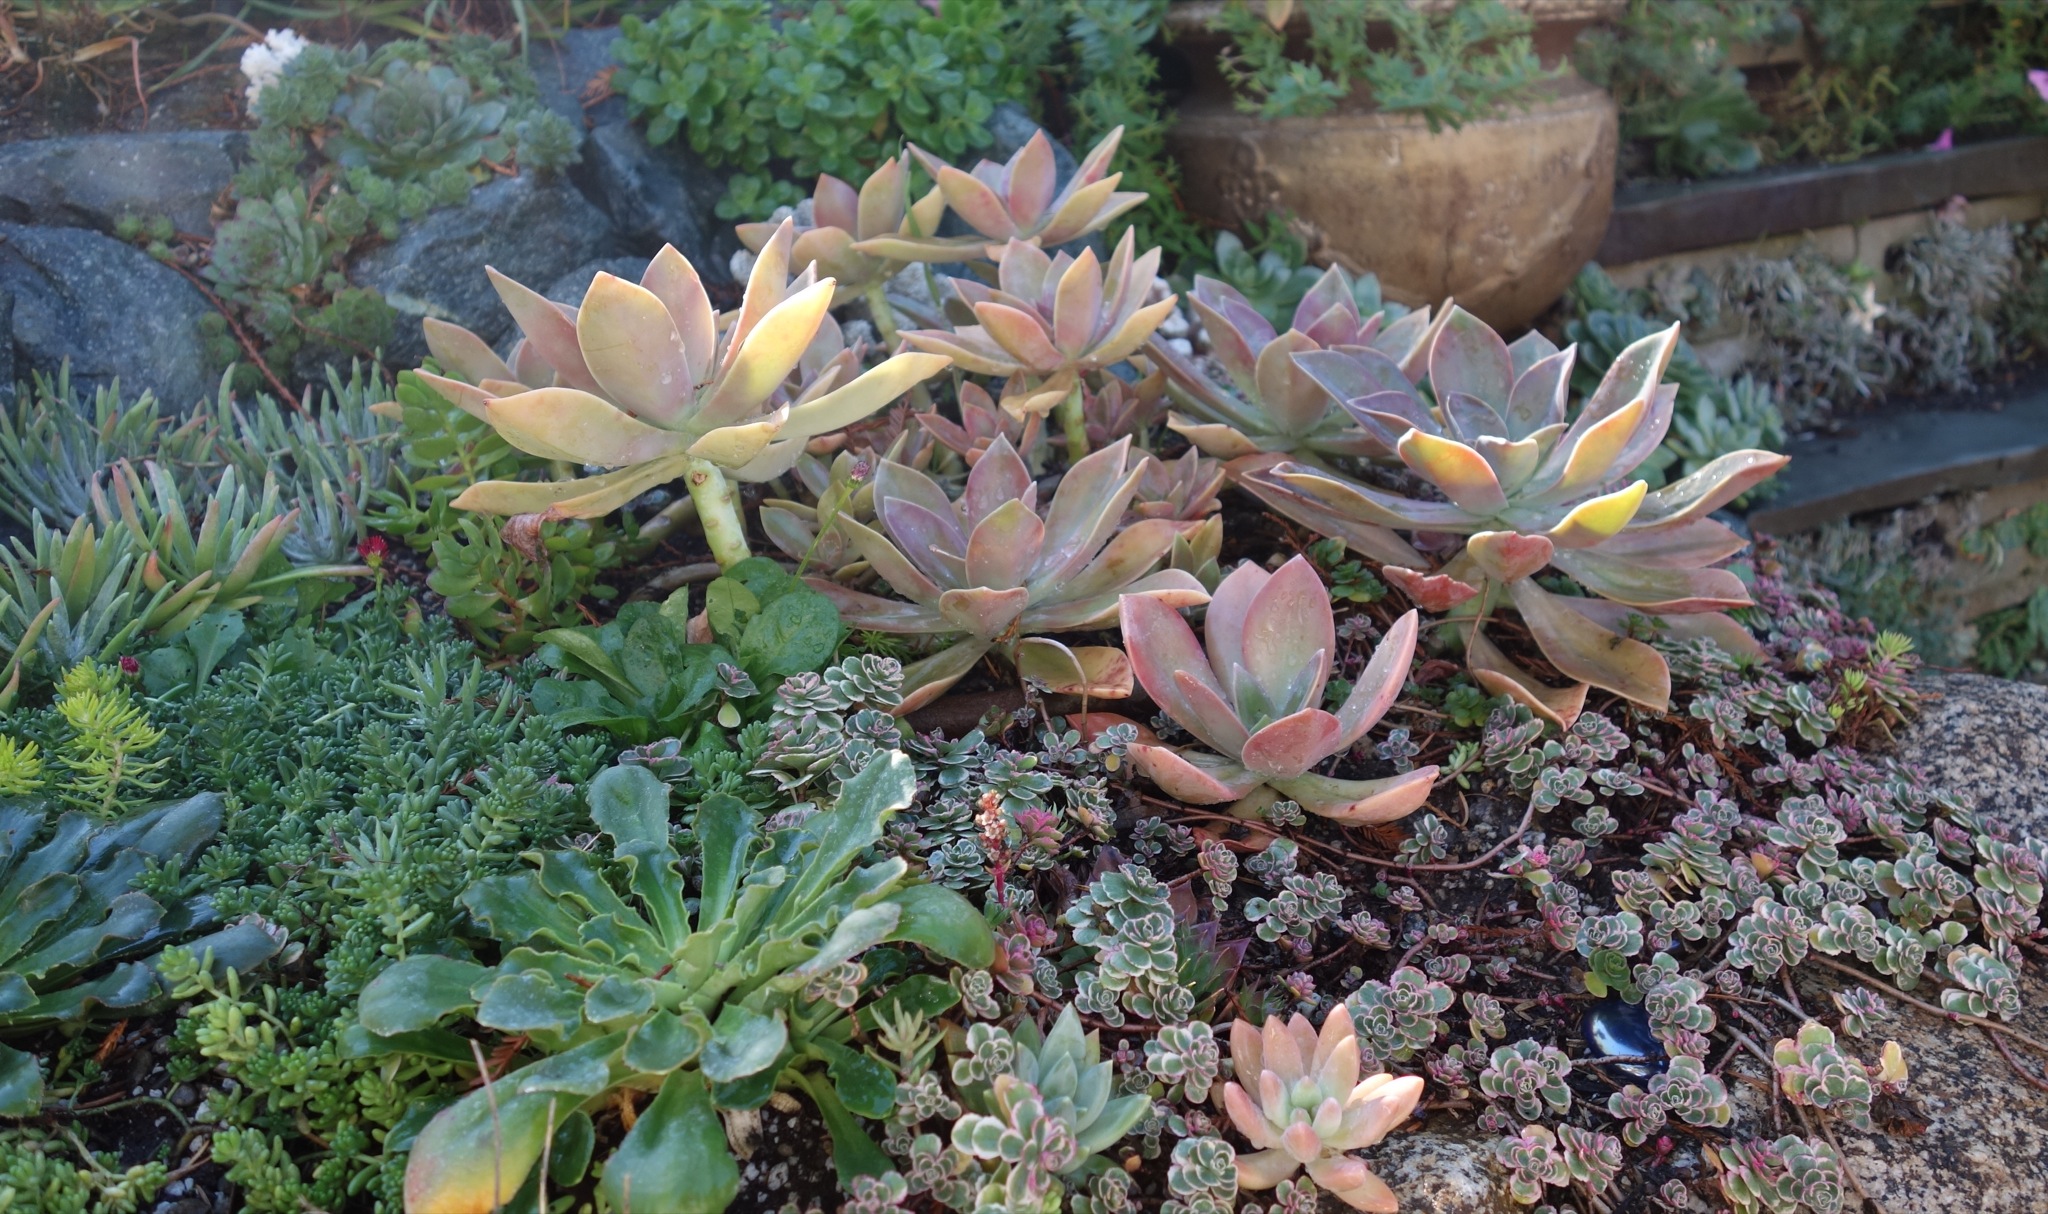 serpentine, travertine, chert, sandstone, obsidian, lava and limestone intertwine. “The wall has been quite an adventure”, the couple says casually as my eyes darted back and forth, up and down admiring each vignette. Almost all of the succulents and cactus plants were obtained for free from discards and generous friends and the garden art in the wall was found on construction sites and recycled. The wall itself is an ongoing labor of love. Starting just a year and a half ago with a short block wall as the base, this living succulent wall has been built with mortar, rebar and dry laid stones and even has a sturdy set of stairs, a flagstone and pebble path and several places to sit and take in its beauty.
I couldn’t take my eyes off the beautiful rock walls and colorful succulents that filled every crevice and cascaded down the rocks. How do you make it so stable I asked? “A good mason handles a rock only 9 times”, he said with a laugh. Seems there’s a story that accompanies every little section. An unusual black ornamental  iron railing surrounds a tiny slate patio at the top. It consist of typical sunflowers on the sides but in the middle of each section is a bat with wings extended. Really gets your attention I have to tell you. I was told that Johnny Weissmuller of Tarzan fame used to live in Ben Lomond. He had a patio made for his aging mother and this was the surrounding railing. It arrived via some friends who now own the house and said they could have it as long as they never sold it. Along with some rocks from Tarzan’s old garden it is permanently installed in the succulent wall. At the top of the wall along the road lives a red rose that’s been in the garden a very long time. Story goes that a neighbor distributed these roses to many in the neighborhood and they originally came from Eleanor Roosevelt when she visted the area. Succulents for the wall are part trial and error, part research.
Drainage for any succulent is a must so first a mix is created using pumice, gravel and sand. This is used for the pockets in the wall and also for containers which are filled with rocks and only a few inches of the mix is added to the top. They have found that by using frost blankets over only the most frost sensitive varieties their collection survives our winters. The first winter they did protect them while getting established but now they are on their own. Even if some turn to mush, I was told, they are cleaned up in the spring, replanted and grow back just fine. And being succulents they multiply and there are even more to tuck into crevices the next year.
The wall contains hundreds and hundreds of plants, both succulents as well as other plants that 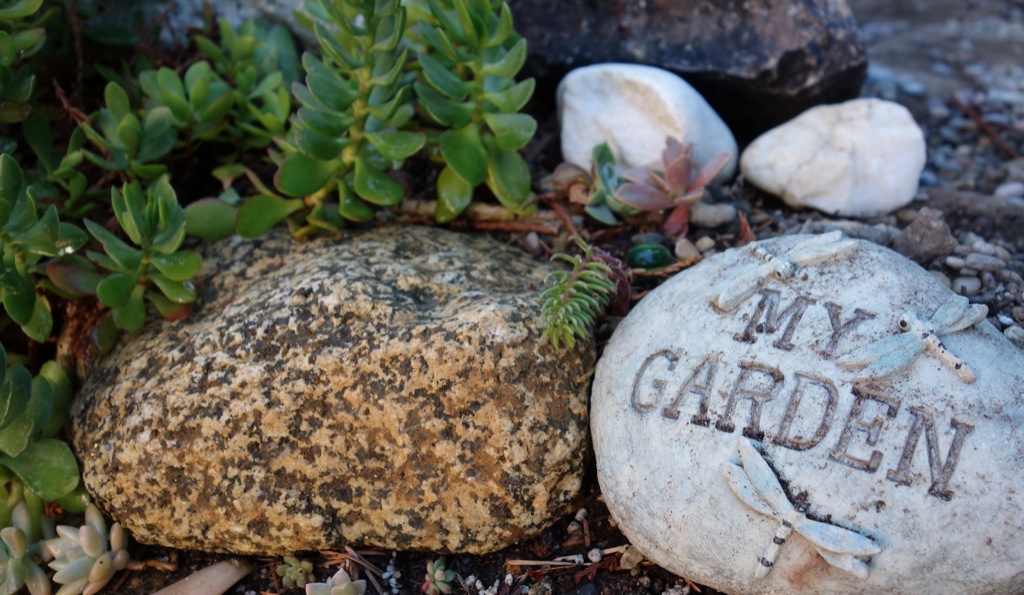 provide colorful foliage and contrast to the rock. A new section is being developed with dark green serpentine and orange jasper rocks. Blue chalk stick (Senecio vitals ‘Serpents) is just one of the succulents growing here along with several varieties of crassula, echeverria, graptopetalum St. Ives, agave, sempervivum and aloe. There is a pink and blue section and a chartreuse and burgundy section, too. Every color of the rainbow is represented. Every succulent garden is unique and the owner’s of this one have created their own astonishing living wall. From fossil rocks shaped like hearts to slate pavers chipped into a heart shape to Hens and Chicks growing in the rock crevices and forming a heart, this garden shouts love.